
Phoenix Gold MQ475
Construction:
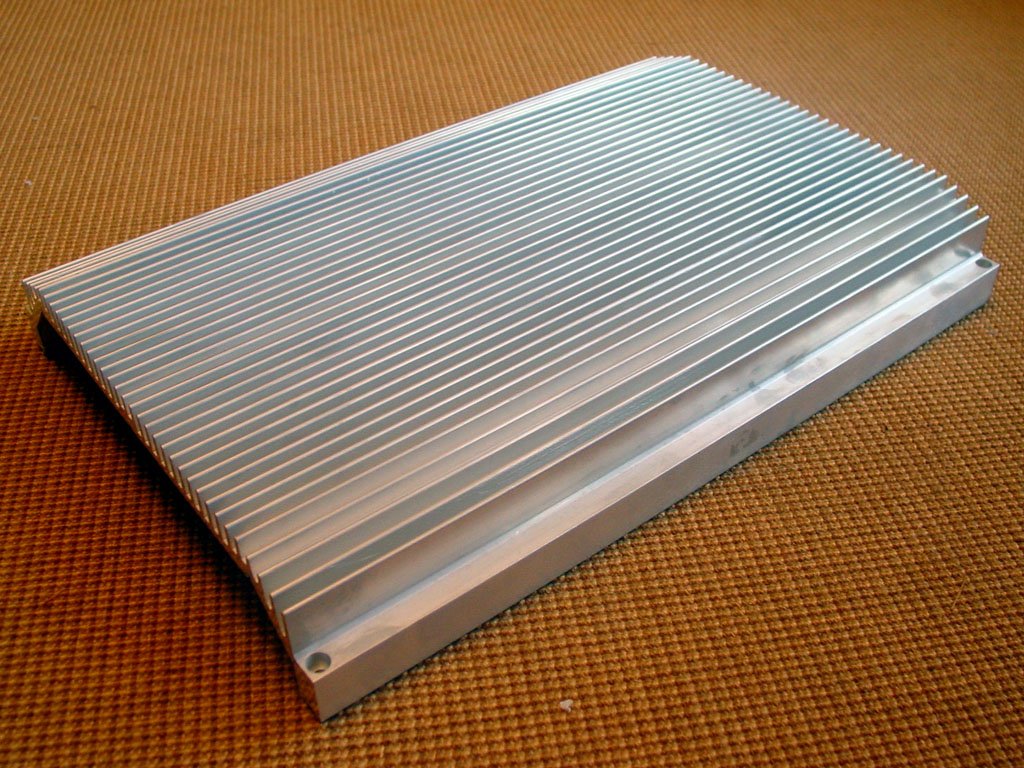
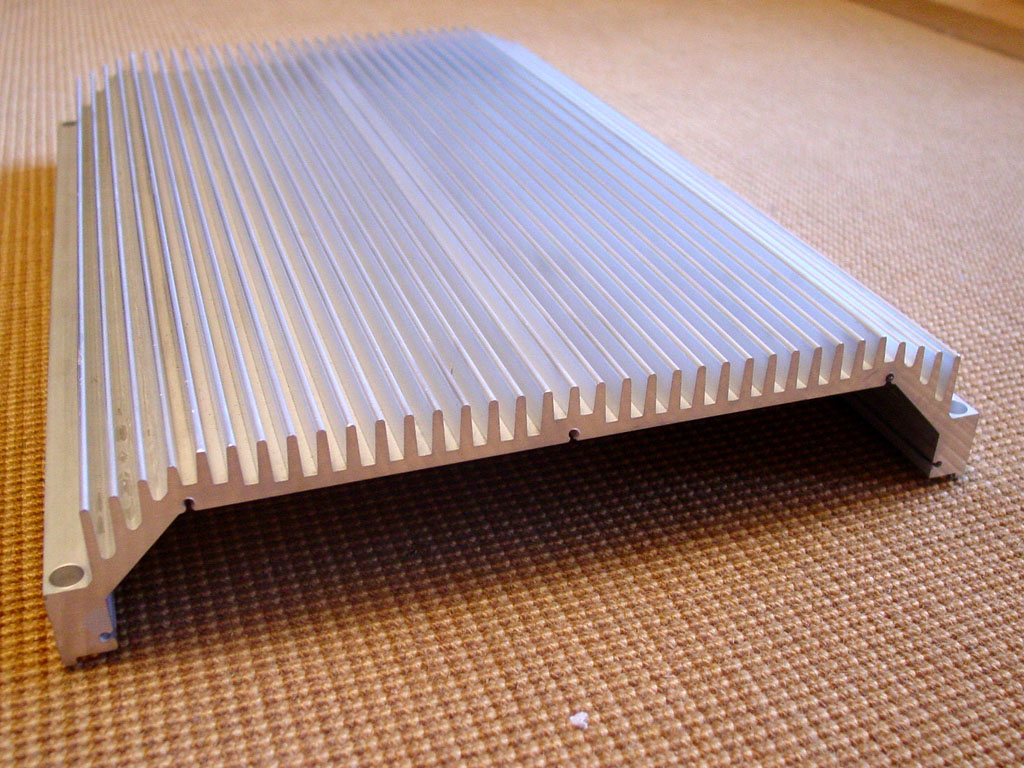
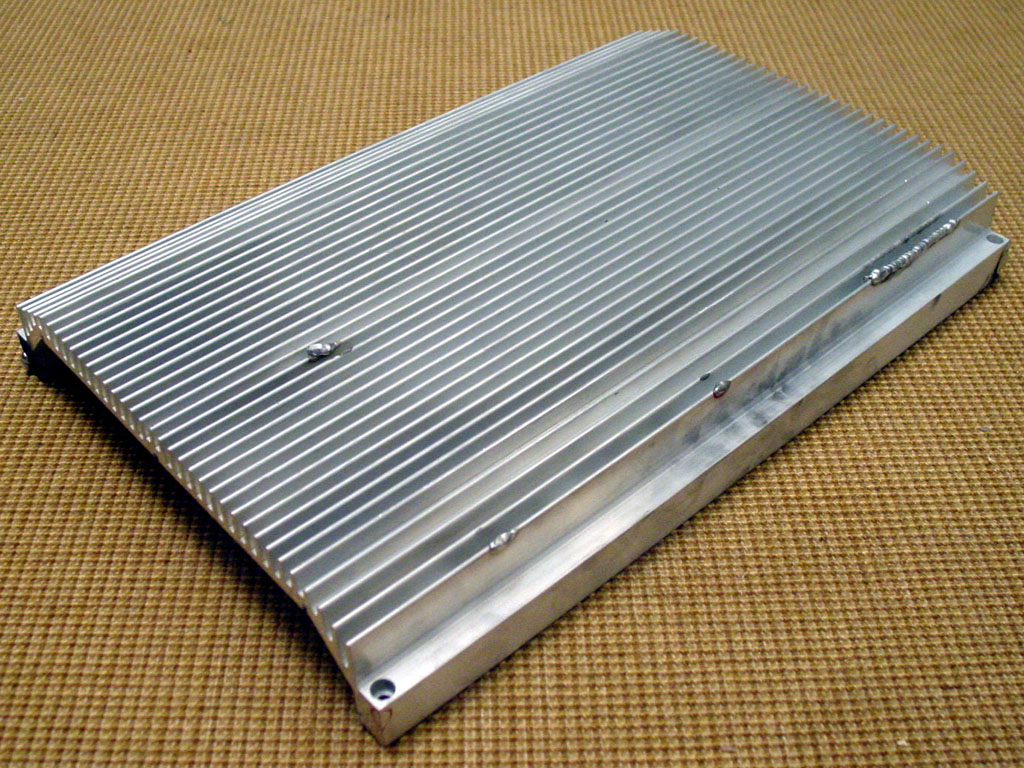
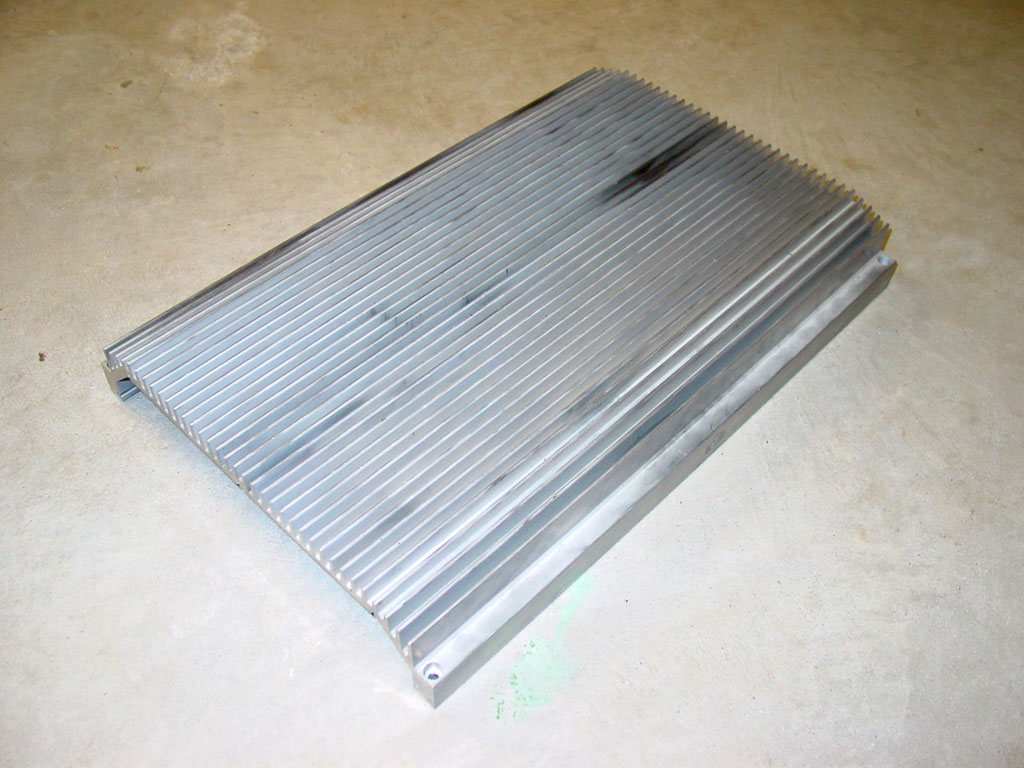
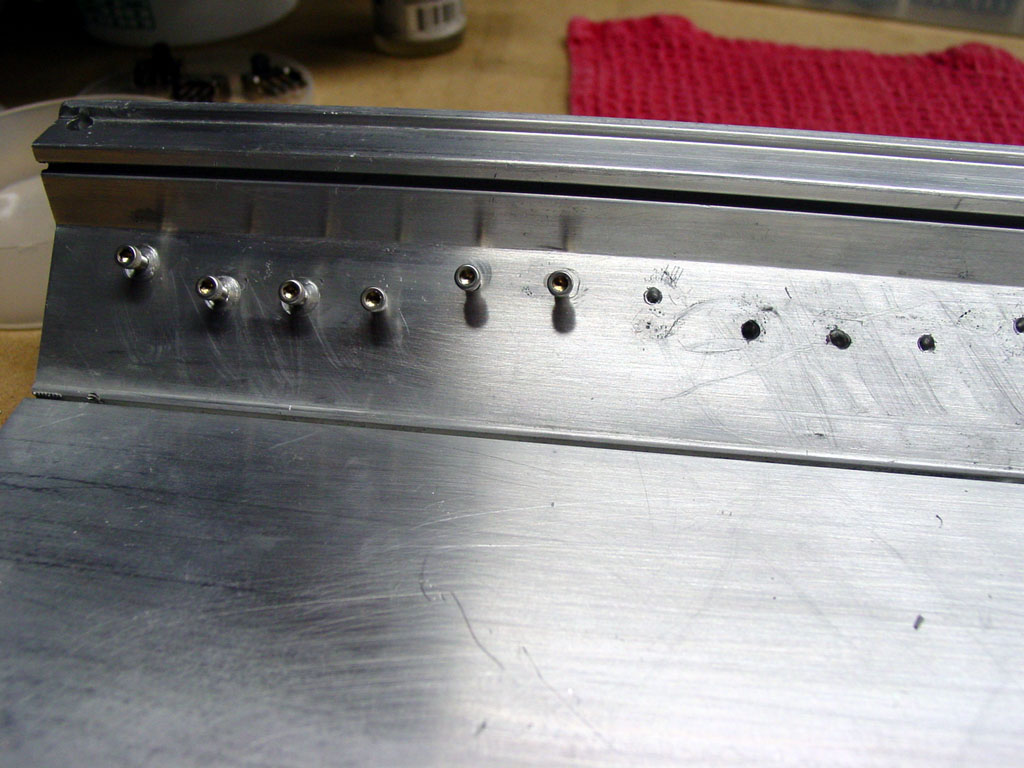
This project began as a MPS2500 which required so much repair, it was pretty much useless. I had since parted out the rest of the MPS2500, and therefore decided to use its heatsink as a platform for a pair of MS275 boards. The very first step was to chemically strip all of the factory powder coat off of the heatsink. The results of the chemical stripping are shown below.
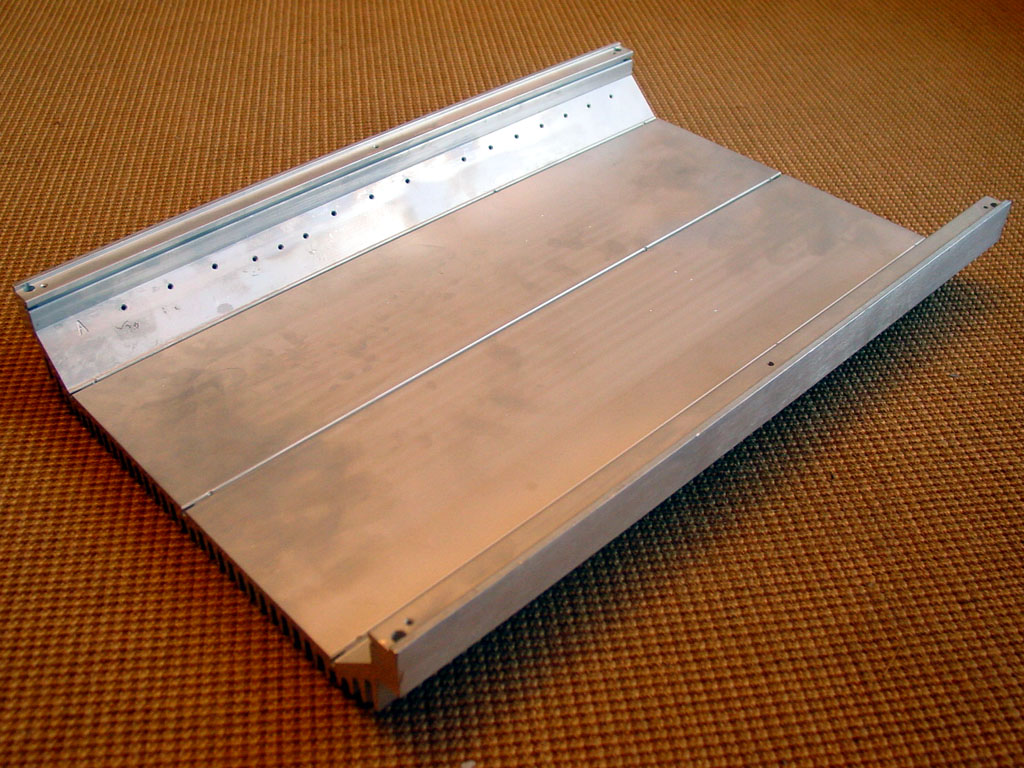
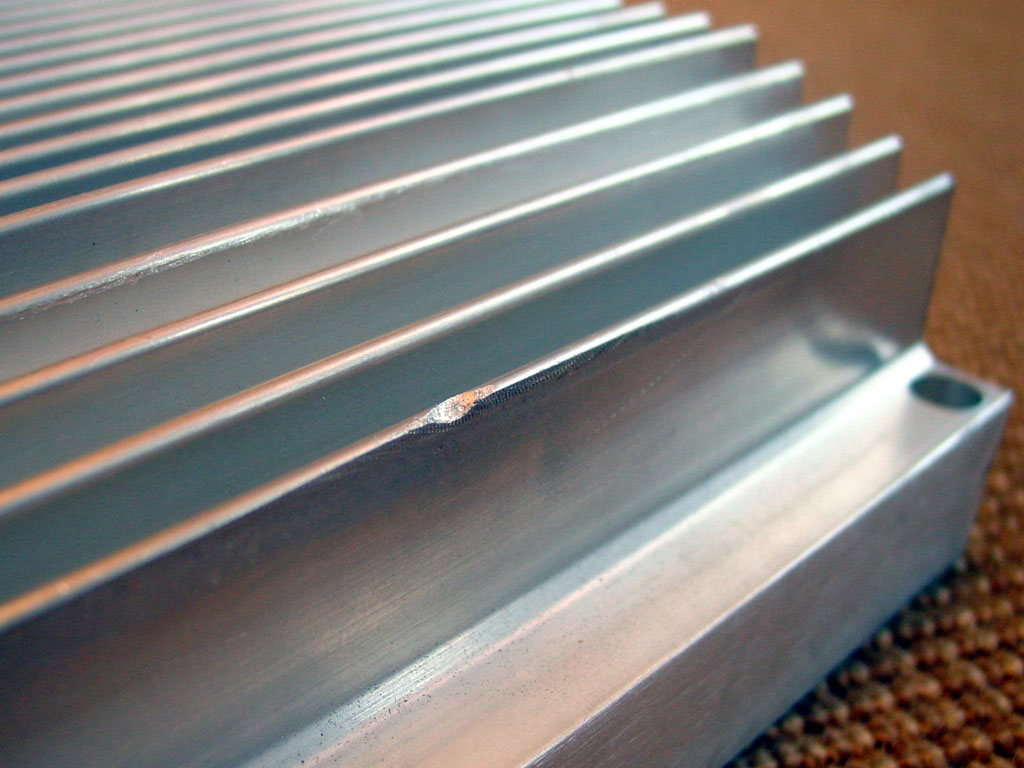
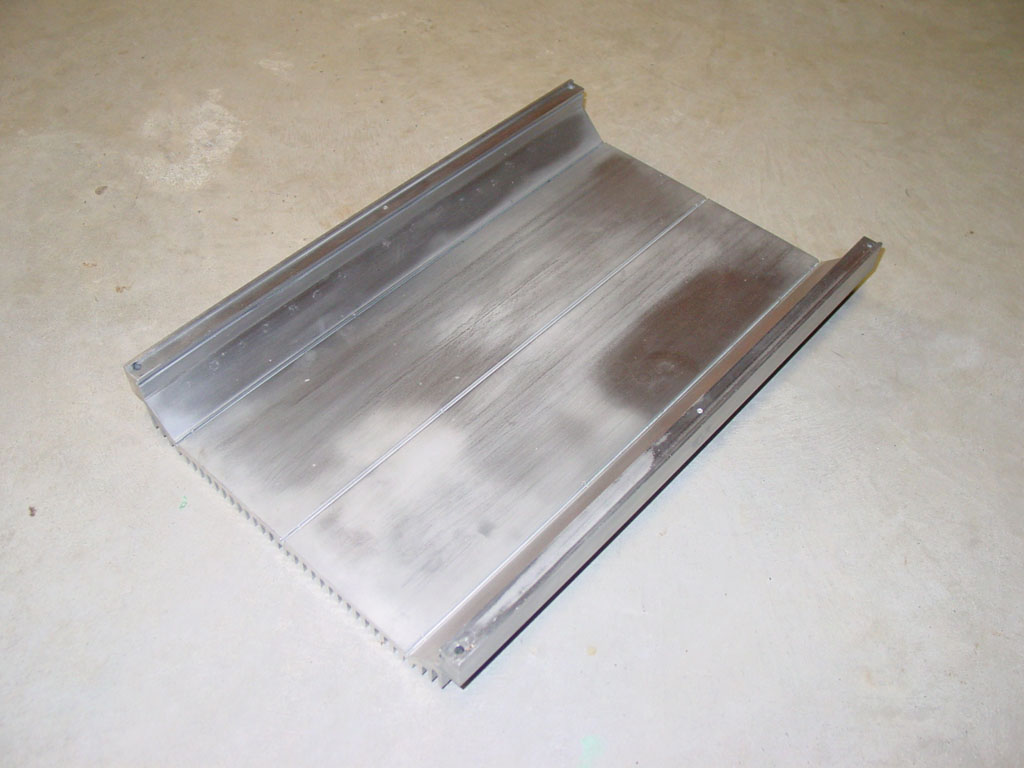
Next, all the original mounting holes, and the damaged edge areas of the sink were welded.
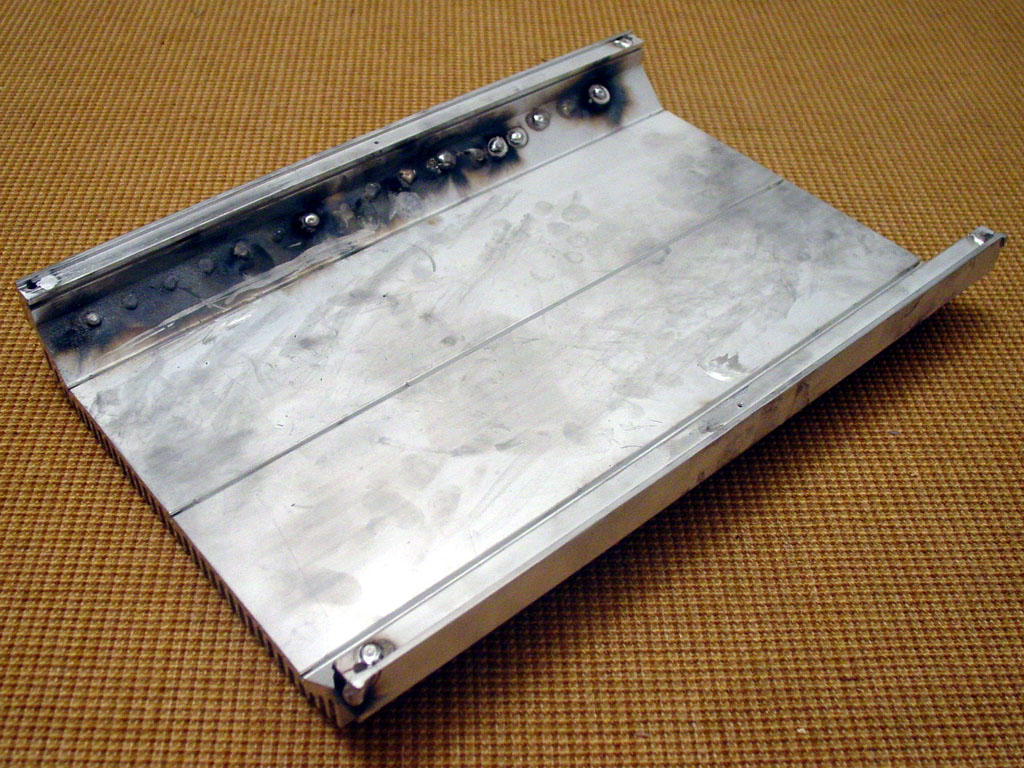
All welded areas were then ground and filed smooth.
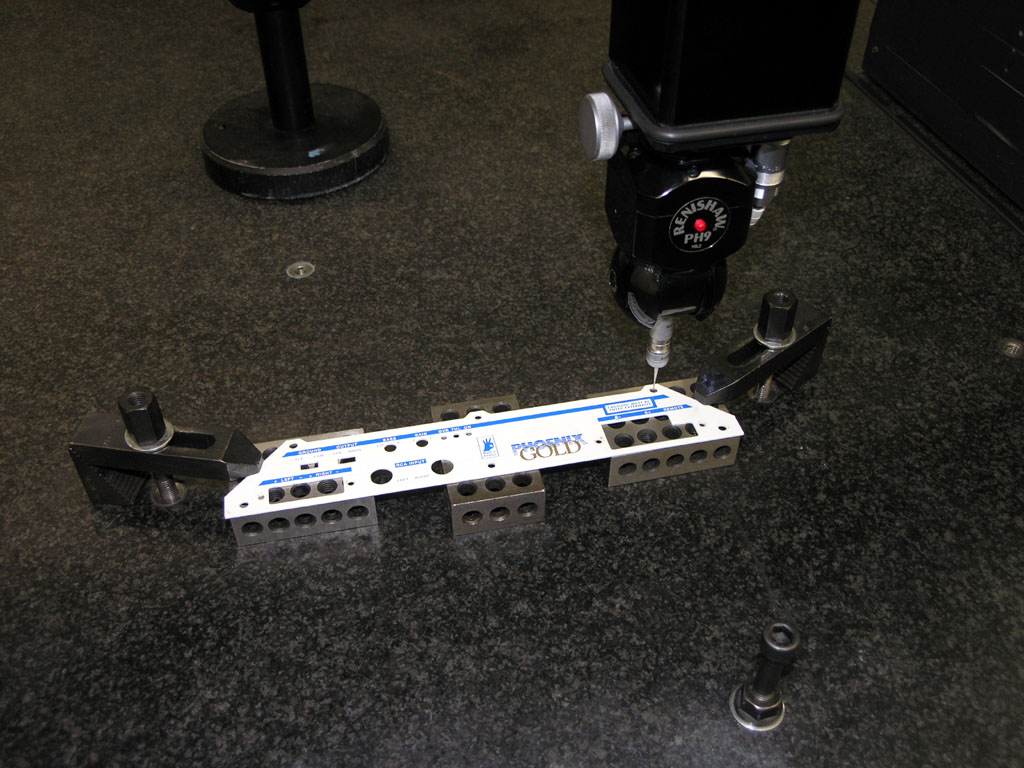
Construction of the new endplate began with reverse engineering the existing endplate. I used a CMM (Coordinate Measuring Machine) to measure the endplate from one of my MS275s which will be used in this project. The CMM is accurate to about 0.0001 in. Here is a photo of the CMM in action measuring a hole.
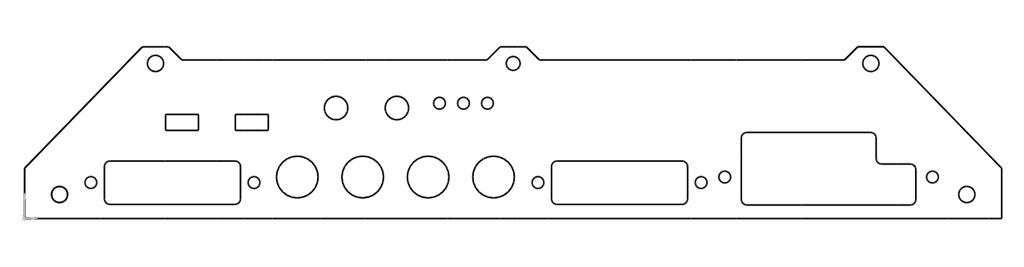
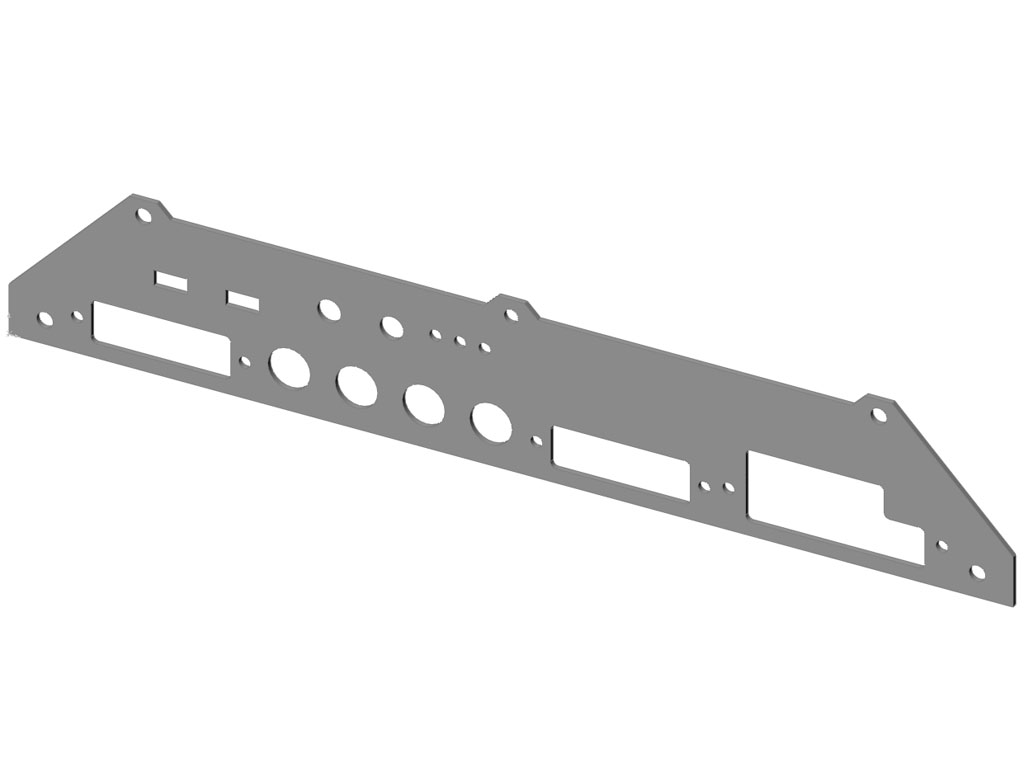
Next I exported the CMM data as an IGES file, and read it into CAD software. I then redesigned the endplate to accommodate the additional RCA jacks, and speaker jack which will be needed for 4-channel operation.
Here are the terminals used for the project. It has become very hard to find these terminals, as they are no longer made, and break quite easily.

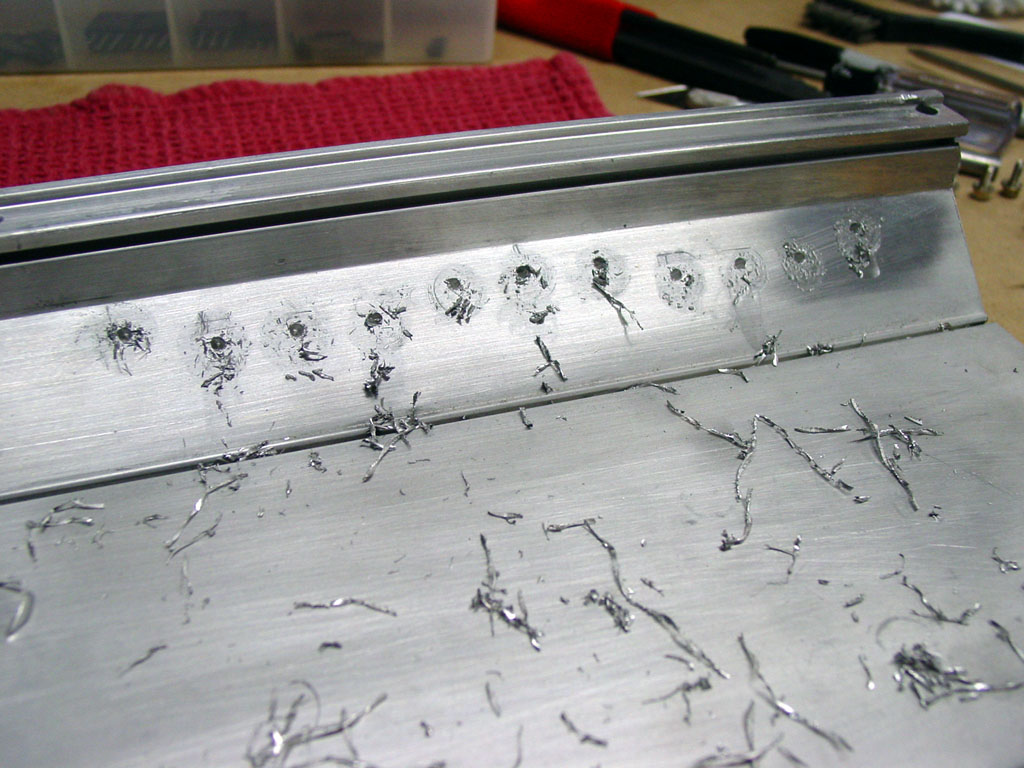
I pre-drilled and tapped holes for the mounting of the transistors and other devices. All of the screws I am using on this are stainless steel, as PG screws typically start rusting very early on.
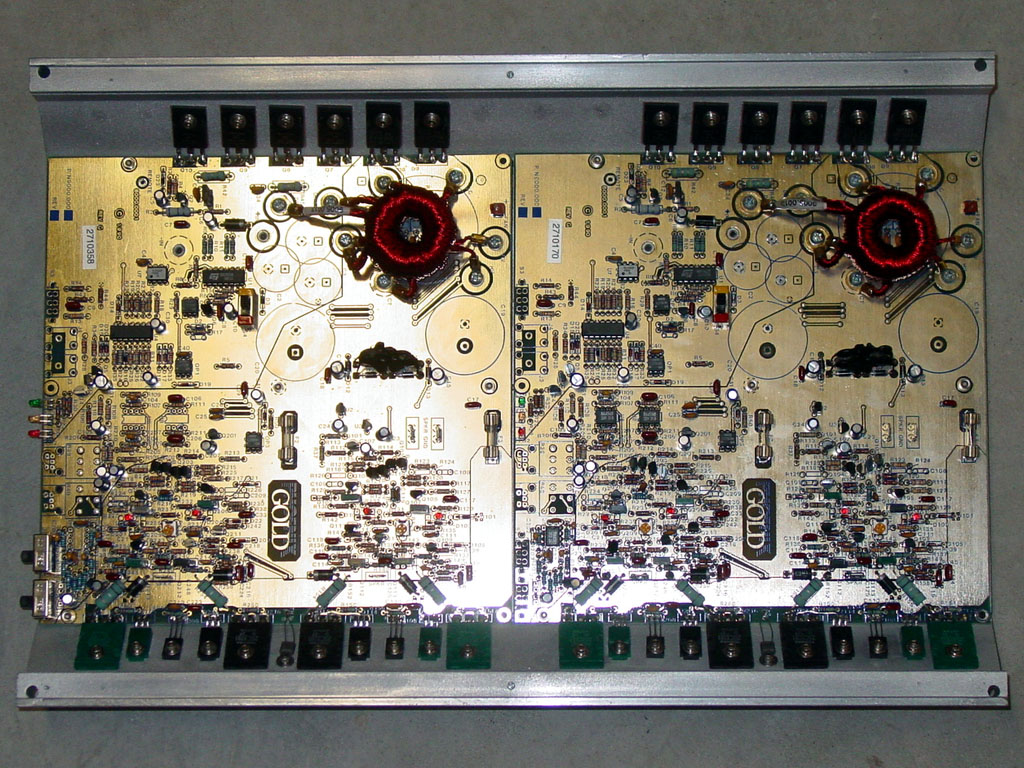
Here are some photos of the boards mounted in the heatsink, and with all the devices screwed down. I now have to finish the boards by adding the new capacitors, new gain controls, moving the switches, and extending wires.
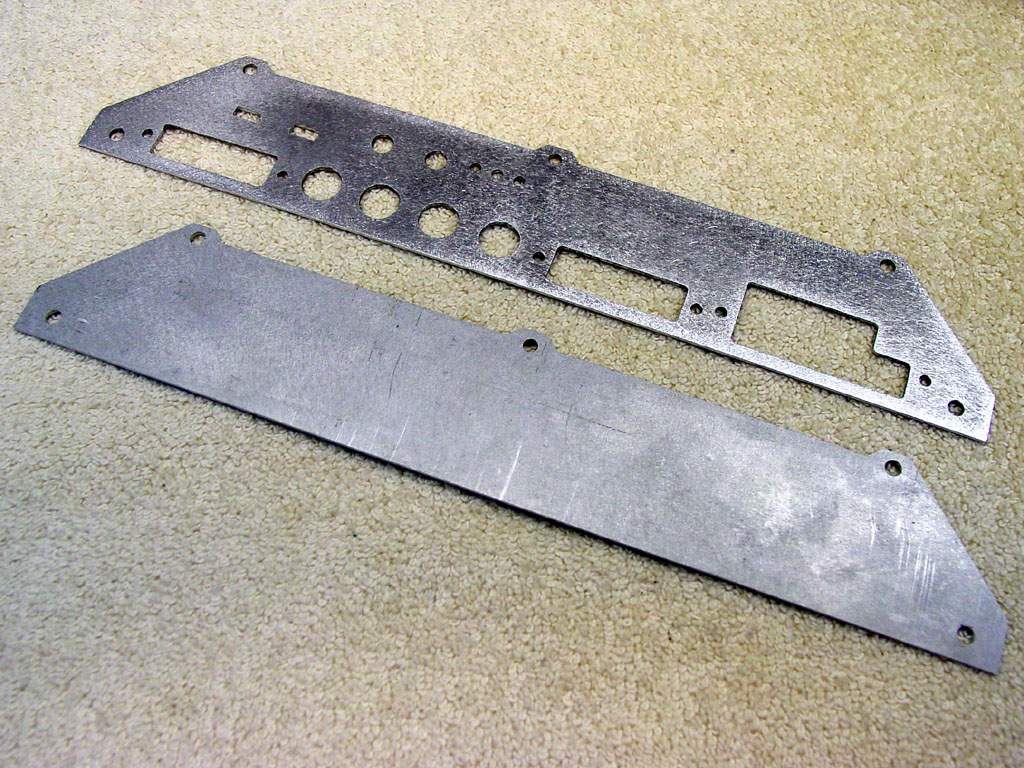
Here are the new endplates I had custom cut.
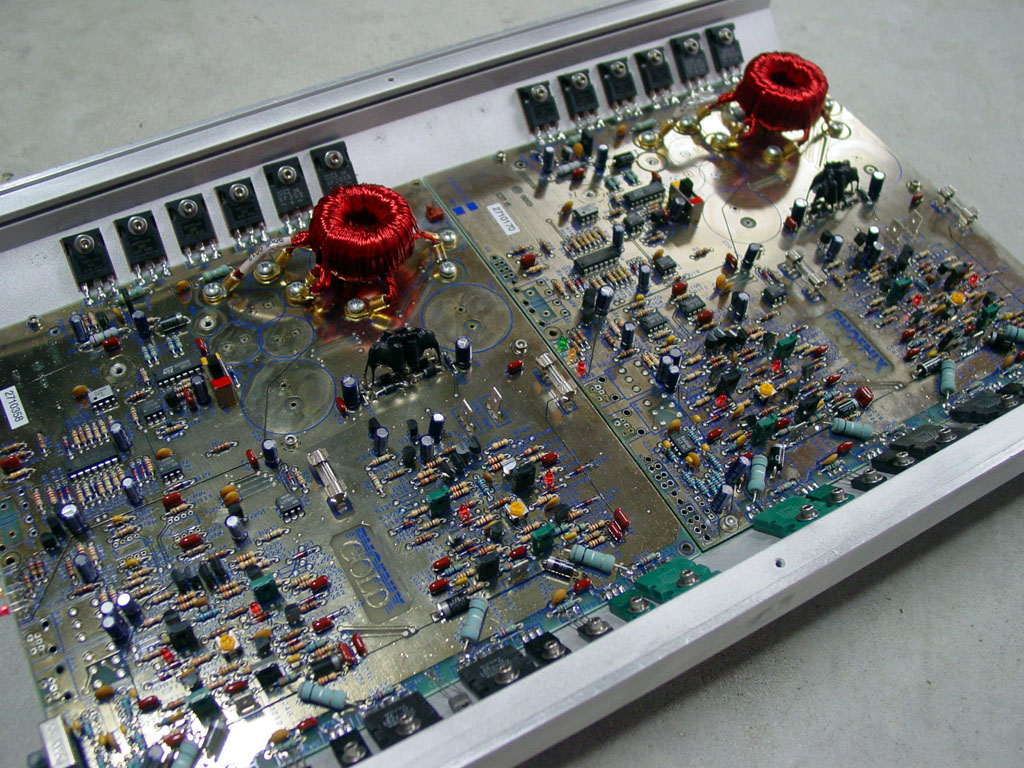
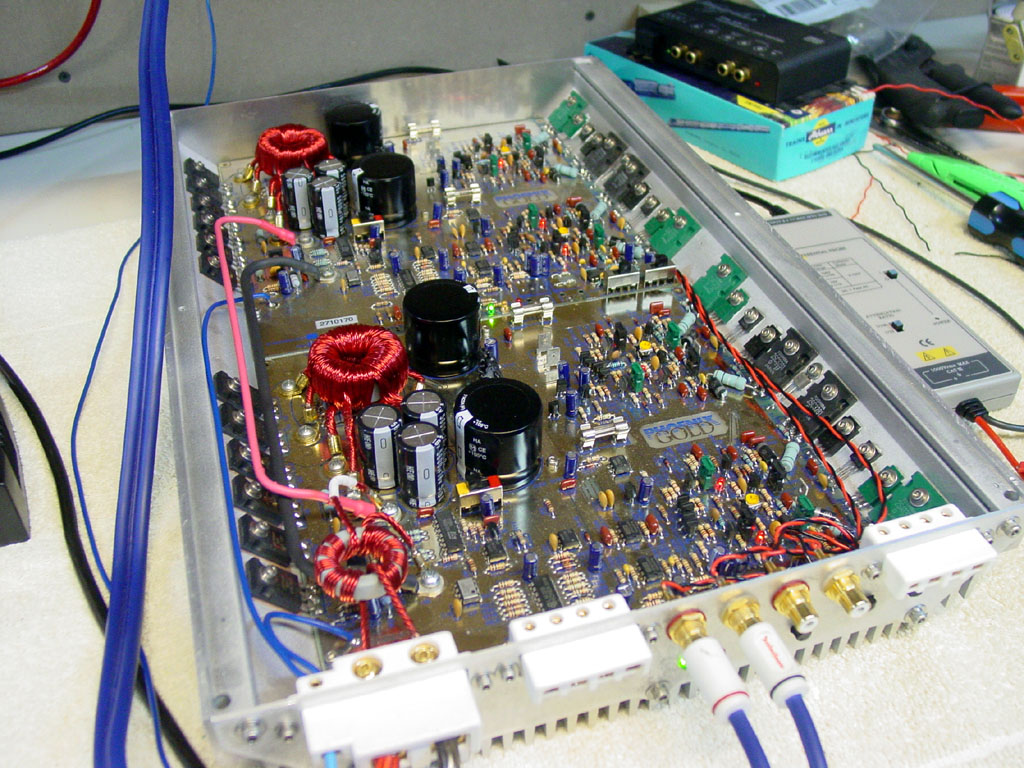
Here is the amp mostly together. Both boards installed, power and signals ran, but I still need to run speaker wires. The amp powered on successfully!
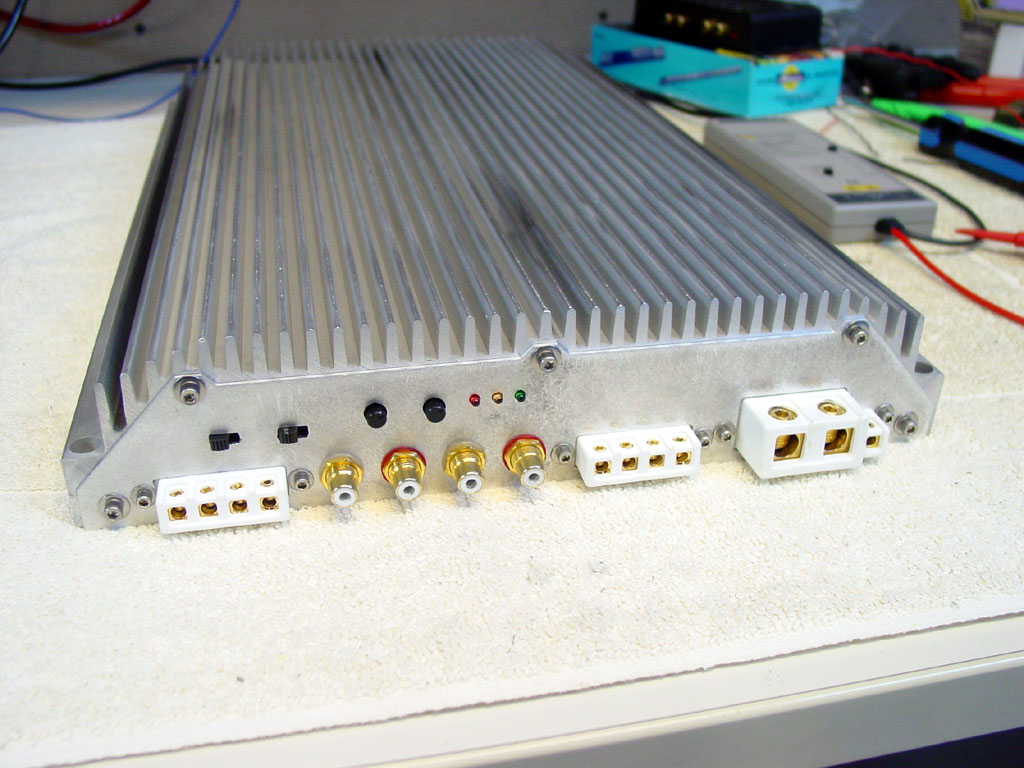
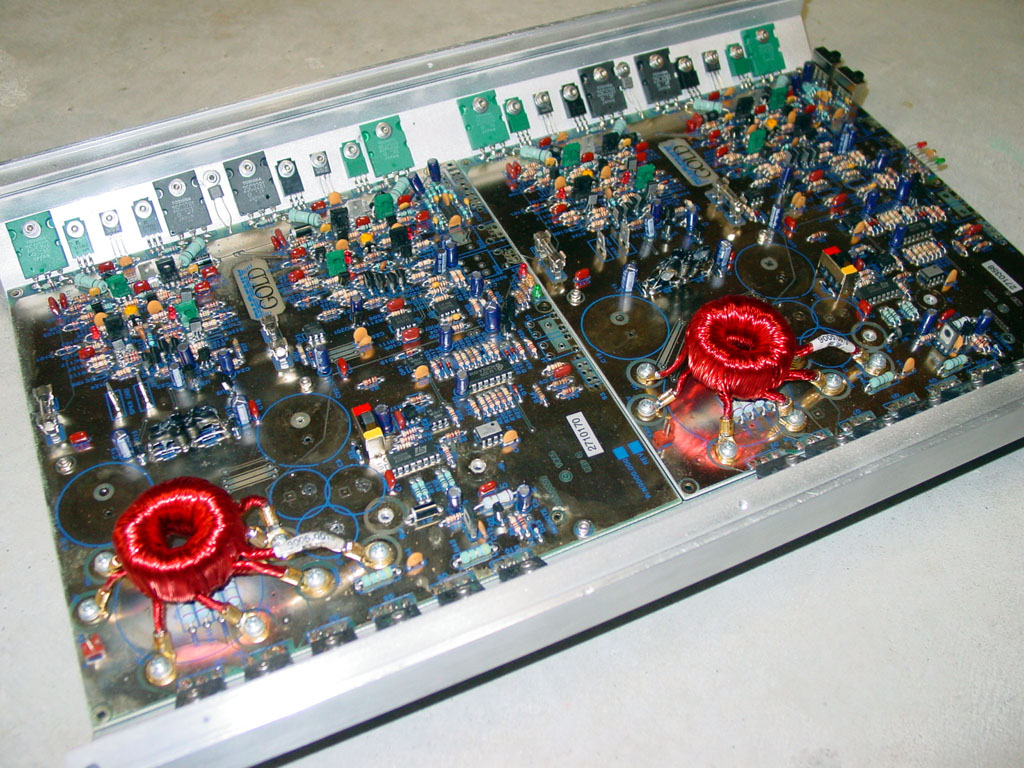
Here the speaker wires have been added.